
Atoraxxion: Yolunakea
Last Edited on : Jul 17, 2026, 11:55 (UTC)
Atoraxxion: Yolunakea
◈ Recommended Gear: 280 AP and 340 DP / (Optimal: 289 AP and 380 DP)
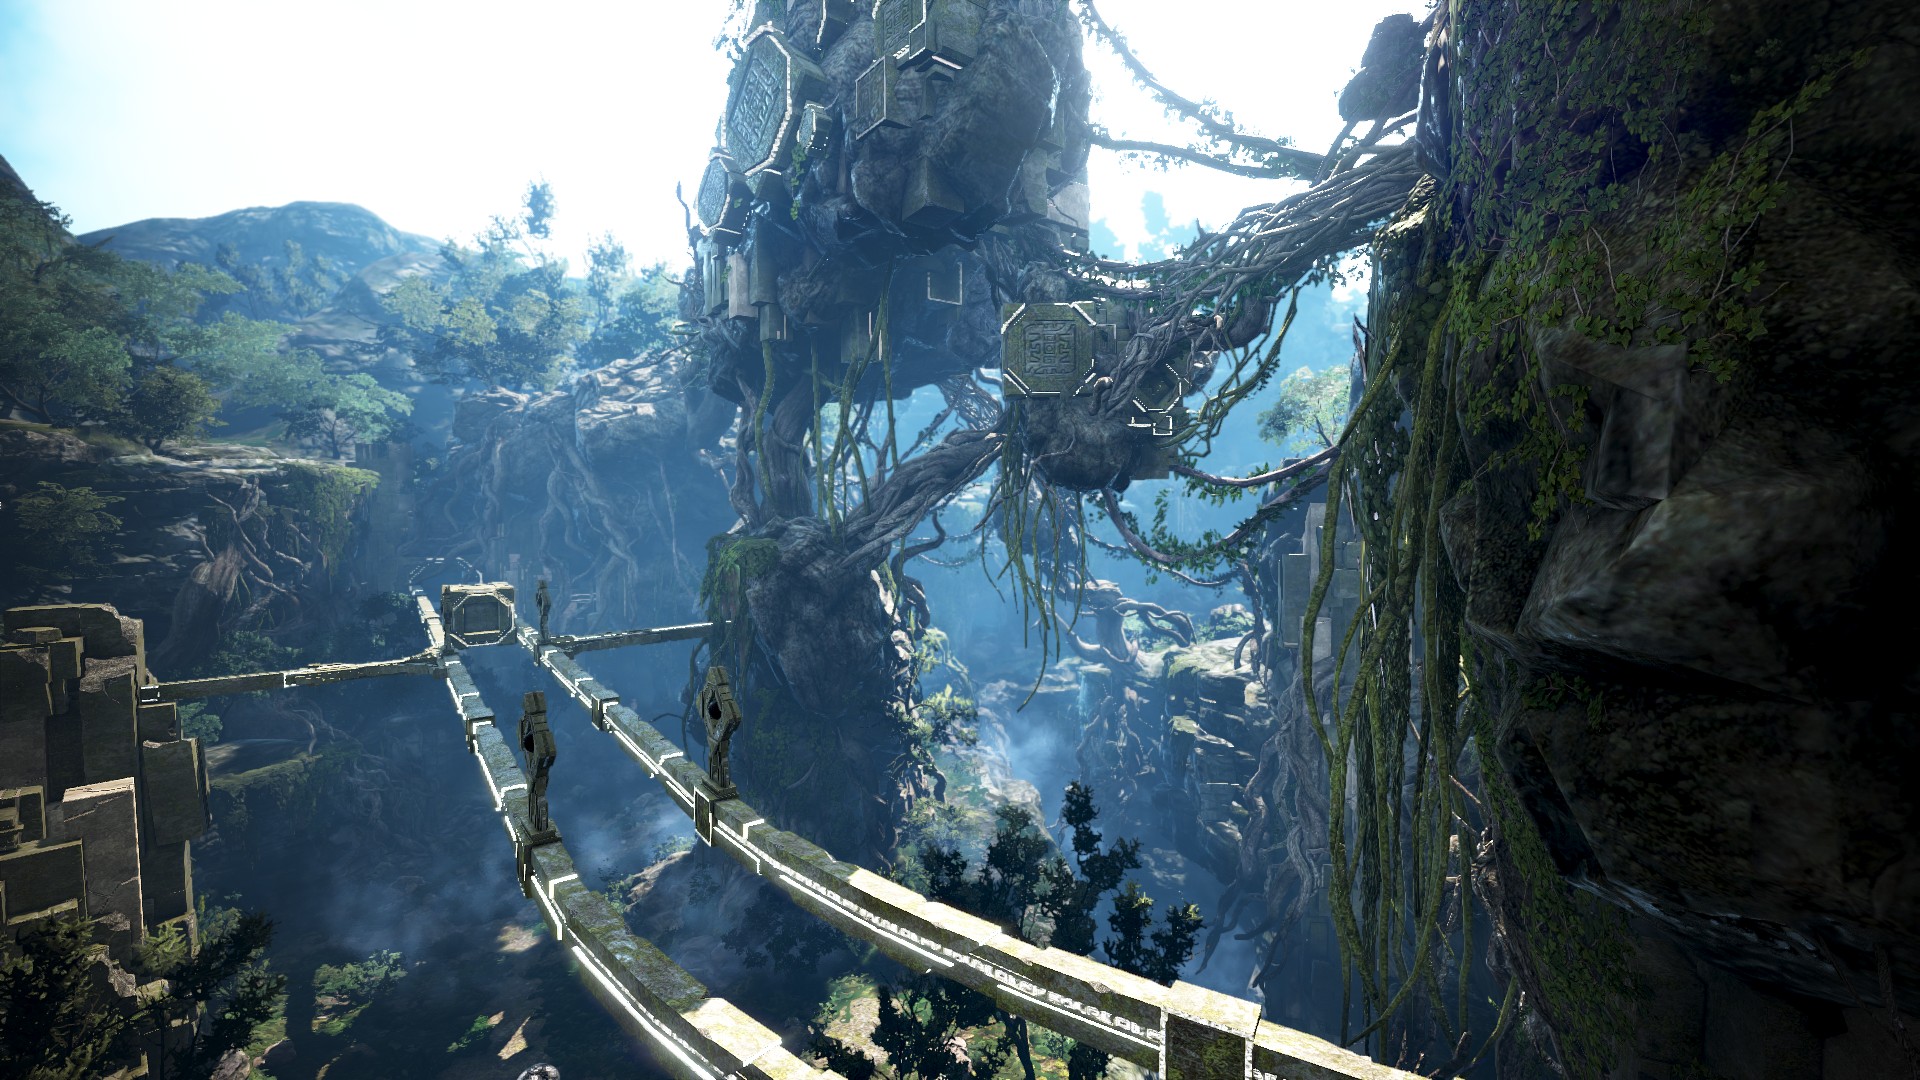
Atoraxxion: Sycrakea is a co-op dungeon and is the third biome you can visit in Atoraxxion.
• Sycrakea is separated into Syca's Scale,Syca's Grave, Syca's Glare, Syca's Garden, and Syca's Garden. And within each area, there are items that can be obtained, then you are taken to defeat the final boss.
• Once you make it to the final stage, Syca's Cradle, defeat the final boss Maleficent Centilutos and receive rewards.
• In Atoraxxion you will be able to see groups of other players, however the final boss is in a separate instance for your party only.
• Normal monsters in Atoraxxion do not drop regular items, but items to create keys needed to advance through.
• In Atoraxxion you will be able to see groups of other players, however the final boss is in a separate instance for your party only.
• Normal monsters in Atoraxxion do not drop regular items, but items to create keys needed to advance through.
How to Enter
• Available from Lv. 60.- (Optional) Complete [Invitation from I] from the Black Spirit's Main Quest tab
- (Optional) Complete your character's Awakening or Succession quest
TIP: If you have a character that completed [Atoraxxion] Vaha's Time Capsule from the Black Spirit's Main Quest tab, you can enter as long as you are above Lv. 57.
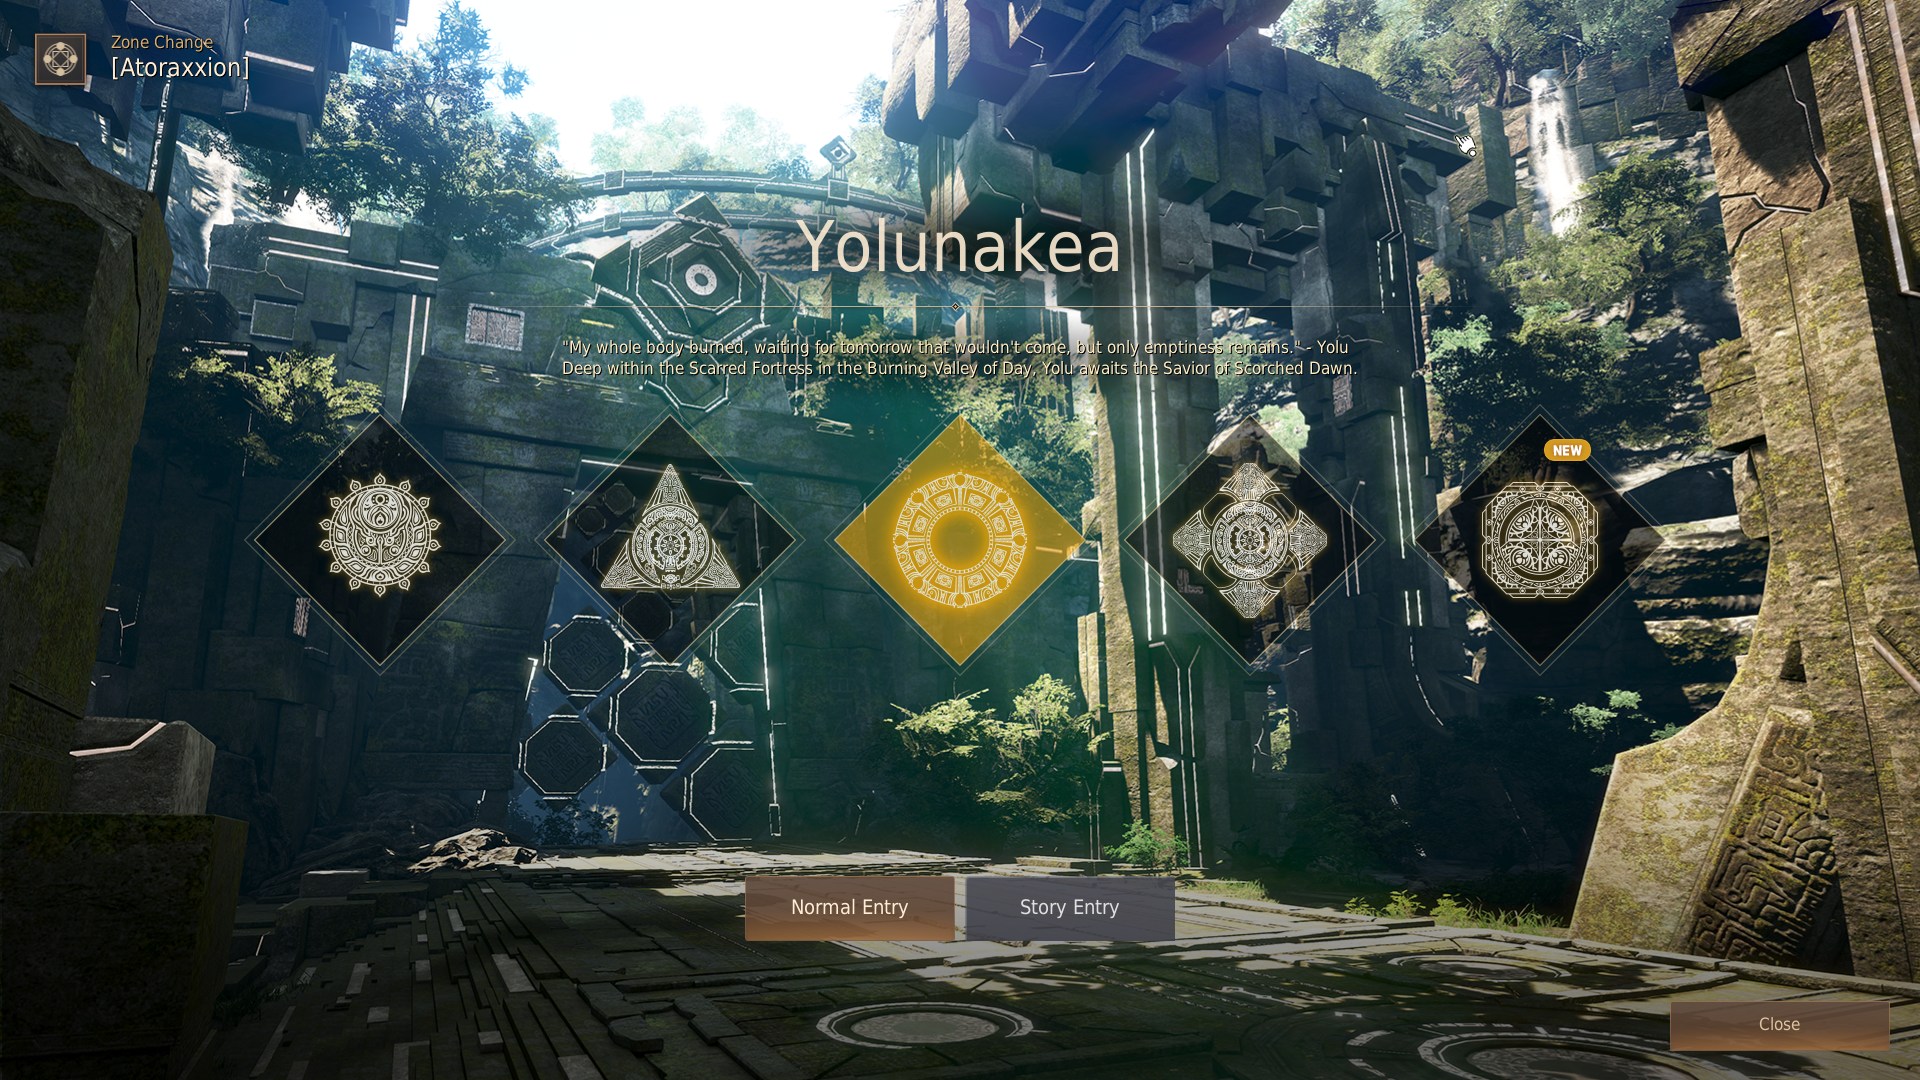
You can interact with the Sol Magia located in the Ancient Stone Chamber to enter Atoraxxion: Yolunakea.

If you meet the entrance requirements, you can enter by choosing Yolunakea from the Atoraxxion selection screen after interacting with the Sol Magia.
TIP: You can also enter through Elribta's Door that appears after clearing Atoraxxion: Sycrakea.
Types of entries:
• Normal Entry: Enter this mode to experience Atoraxxion with other 5 party members. You will be able to obtain weekly rewards normally.
• Story Entry: Recomended if you are seeking to complete the main story quest or to hunt knowledge. It will not offer weekly rewards, apart from the first time clearance.
• Story Entry: Recomended if you are seeking to complete the main story quest or to hunt knowledge. It will not offer weekly rewards, apart from the first time clearance.
Progression
Yolunakea is separated into 6 areas: Yolu's Nail, Yolu's Query, Yolu's spine, Yolu's Mane, Yolu's Teeth, Yolu's Cradle.
You must obtain items specific to each of these areas to summon the boss monster of each area. Once you collect the items dropped by all the boss monsters, you will be taken to the final area.
You can solve threads, which are like puzzles, alone or together with party members when you are inside Atoraxxion. If you don't feel like completing the puzzles to progress you can just skip the puzzle, however, you won't be able to get the knowledge for that specific puzzle.
You can leave Atoraxxion by interacting with the Sol Magia located inside the dungeon.
Simple Playthrough Guide of Yolunakea
1. Obtain Pulsating Tree Vine in Yolu's Nail

2. Obtain Yolu's Arid Fragment in Yolu's Query by defeating [Yolu's Remnant] Keluos and arrange them into a [-] shape to obtain Distorted Tear of Temptation.
 + =
+ = 
3. Obtain Yolu's Burning Vine by defeating [Yolu's Avarice] Lekra Vuhuma and arrange it with Distorted Tear of Temptation into a [-] shape to obtain Soaring Hatred Tear 
 + =
+ =
4 . You must defeat 30 Veinturam after activating the alert system to move to the next area.
5. Obtain Yolu's Contorted Lightstone from defeating [Yolu's Avarice] Sebekaruk and arrange them in a [-] shape to obtain Voidlight Dagger
 + =
+ = 
6. Enter Yolu's Garden and party members must combine their Voidlight Daggers to enter Yolu's Cradle
7. After defeating Impassioned Amarillos, players will obtain the key (Lucretia Dagger) to challenge Vahmalkea final Boss: Apex Urukios.

8. Claim your reward after defeating Impassioned Amarillos in Yolu's Garden.

◈ Yolu's Nail

In this area, Yolu's Ancient Weapons Oreturem, Syketurem, Vayeturem, and Veinturam await in preparation of the Dark Invaders
A device that detects the presence of Dark Invaders is always active and Veinturam, one of the Ancient Weapons, explodes when it reaches a certain power threshold.
| Monster | Item Obtained |
| [Yolu's Remnant] Veinturam [Yolu's Remnant] Oreturem [Yolu's Remnant] Syketurem [Yolu's Remnant] Vayeturem |
Pulsating Tree Vine
|
The Pulsating Tree Vine, which can be obtained after defeating the monsters that appear, is a required material to encounter the boss in the area.
◈ Yolu's Query

Defensive protocol Keluos remains operational here to ward off unauthorized intruders to the stronghold.
Once the Sun Control Tower here is activated, you can entrust yourself to the blue aura to move to Yolu's Spine.
(If the party already activated the Sun Control Tower, you can entrust yourself to the blue aura to move without disabling the defense system as long as you obtained Yolu's Arid Fragment.)
| Monster | Item Obtained |
| [Yolu's Remnant] Keluos |
 Yolu's Arid Fragment
|
Upon obtaining Yolu's Arid Fragment , from defeating [Yolu's Remnant] Keluos, arrange it alongside the Pulsating Tree Vine  horizontally in your Inventory (in any order) to obtain a Distorted Tear of Temptation.
, from defeating [Yolu's Remnant] Keluos, arrange it alongside the Pulsating Tree Vine horizontally in your Inventory (in any order) to obtain a Distorted Tear of Temptation. ◈ Yolu's Spine

This is where you shall face Lekra Vuhuma, a creation of Yolu bearing a hidden tale. You will need Distorted Tear of Temptation , to fight Lekra Vuhuma.

▲ Lekra Vuhuma
| Monster | Item Obtained |
| Area Boss [Yolu's Avarice] Lekra Vuhuma |
Yolu's Burning Vine
|
Horizontally combine the Yolu's Burning Vine, obtained by defeating Lekra Vuhuma, with the Distorted Tear of Temptation in your Inventory to obtain the Soaring Hatred Tear , needed to face the next boss.
in your Inventory to obtain the Soaring Hatred Tear , needed to face the next boss.Also, obtain one of the 5 Vaha's Power Stone (Monoceros, Lacerta, Cetus, Creomar, or Krahtenn) by defeating Lekra Vuhuma.
Use Vaha's Power Stone at the right moment to exchange it for a Kyvelan Mission Statement. Use this mission statement to move to the next stage or mount Vaha's weapon which will be helpful in combat.
| Vaha's Power Stone (E.g., Monoceros) | Kyvelan Mission Statement (E.g., Monoceros) |
 |
 |

▲ Monoceros, one of the Vaha's weapon to defeat Lekra Vuhuma.
◈ Yolu's Mane

A system that detects unauthorized intruders is installed here. Depending on the alert level, countless Veinturam will flock to the stronghold's defense, seeking to stop any invaders in their tracks.
You must defeat 30 Veinturam after activating the alert system to move to the next area.
| Monster | Item Obtained |
| [Yolu's Remnant] Veinturam | No item needed |
◈ Yolu's Teeth

This is where you shall face the giant alligator Ancient Weapon, Sebekaruk, adorned with lightstones.
You will need to use the Soaring Hatred Tear , you have combined and obtained from Yolu's Spine to fight Sebekaruk.

▲ Sebekaruk
| Monster | Item Obtained |
| Area Boss [Yolu's Avarice] Sebekaruk |
Yolu's Contorted Lightstone
|
Combine Yolu's Contorted Lightstone with a Soaring Hatred Tear into a [-] shape (in any order) to obtain a Voidlight Dagger  , to encounter the final boss.
with a Soaring Hatred Tear into a [-] shape (in any order) to obtain a Voidlight Dagger , to encounter the final boss.Interact with the Sol Magia at Yolu's Teeth to move to Yolu's Garden.
Yolu's Garden is the last area where you can prepare and use the Campsite Shop before meeting the final boss.
If you are ready, all party members should insert their Voidlight Daggers into the Sol Magia at Yolu's Garden to move to the next area, Yolu's Cradle.
◈ Yolu's Cradle

Combat with the final boss, Impassioned Amarillos, is the last stage for Yolunakea.
Impassioned Amarillos fights by changing its appearance via the energy of the Origin of Life and becomes more powerful as the fight progresses in its defense against the Dark Invaders' invasion of the cradle.

▲ Impassioned Amarillos that you will encounter in Yolunakea's final area.
After overcoming the powerful attacks and tricky patterns of Impassioned Amarillos, you will be able to complete Atoraxxion: Yolunakea.
◈ Yolu's Thread
Yolu's threads can be found all over Yolunakea.
Yolu's thread is one of the defense mechanisms that Yolu designed herself to fend off the Dark Invaders. By unraveling these threads, you can discover hidden stories or progress through the main quests.

Yolunakea Reward
Defeat the last Ancient Weapon, Impassioned Amarillos, and claim your reward at the top right of your screen.
|
Reward
|
Guaranteed
|
Obtained with a certain probability:
|
|
|
Yolunakea: Scalding Chest
|
 Maha's Fragment x40
(Sell at NPC: 10,000,000 Silver)
 Dehkima: Token of the Oath x45
 Pure Forest Breath x5-10  Deep Blue Hoof Root x5-10  Fruit of Nature x40  Trace of Nature x5-10
 Ancient Spirit Dust x15-20  Cron Stone x150 |
 Rich Merchant's Ring Piece
    Deboreka accessory (up to DUO)
 Vaha's Dawn
|
|
Dehkima: Token of the Oath is available to various rewards in your Manage Currency UI.
|
Required Item |
Exchange Item |
|
Dehkima: Token of the Oath x200 |
Advice of Valks (+100) x1 |
|
Dehkima: Token of the Oath x500 |
Advice of Valks (+150) x1 |
|
Dehkima: Token of the Oath x10 |
Memory Fragment x20 |
|
Dehkima: Token of the Oath x1 |
Mass of Pure Magic x2 |
|
Dehkima: Token of the Oath x5 |
Advice of Valks (+40) x1 |
|
Dehkima: Token of the Oath x10 |
Advice of Valks (+50) x1 |
|
Dehkima: Token of the Oath x10 |
Black Magic Crystal - Harphia /Cobelinus/Viper/Hystria/Carmae/Addis ▲ Select one of the items above |
|
Dehkima: Token of the Oath x1000 |
3 Weapon Exchange Coupons (One per Family) |
|
Dehkima: Token of the Oath x5 |
Desperate Crystal of Origin x1 (Eight per Family) |


Challenge for Clearing the First Time
Obtain the following rewards, once per Family, upon clearing Atoraxxion: Yolunakea for the first time.
| Quest Name | Requirement | Reward |
| [Atoraxxion] Yolu's Time Capsule | Examine Yolu's Time Capsule in Yolu's Paradise |
1,000 Contribution EXP
Fine Magic Crystal Box
Enchanted Scroll (+100) |


* The content of the game guide may differ from the actual game content, depending on the update and content changes.