
Atoraxxion: Vahmalkea
Last Edited on : Jul 17, 2026, 11:52 (UTC)
Atoraxxion: Vahmalkea

◈ Recommended Gear: 280 AP and 340 DP / Optimal: 281 AP and 360 DP
You can proceed with weekly quests by interacting with Vaha's Time Capsule. (Reward - Vahmalkea: Desert Chest)
Atoraxxion: Vahmalkea is a co-op dungeon and is the first biome you can visit in Atoraxxion.
• Vahmalkea is separated into Vaha's Query, Vaha's Sky, Vaha's Storm, Vaha's Heart, Vaha's Head, Vaha's Garden, and Vaha's Cradle.
• You can enter Vahmalkea by going to the Sol Magia in the Ancient Stone Chamber.
• Once you make it to Vaha's Cradle, the final area, defeat the final boss Apex Urukios to receive rewards. (Rewards are only available once a week per Family)
• Vahmalkea is separated into Vaha's Query, Vaha's Sky, Vaha's Storm, Vaha's Heart, Vaha's Head, Vaha's Garden, and Vaha's Cradle.
• You can enter Vahmalkea by going to the Sol Magia in the Ancient Stone Chamber.
• Once you make it to Vaha's Cradle, the final area, defeat the final boss Apex Urukios to receive rewards. (Rewards are only available once a week per Family)
• In Atoraxxion you will be able to see groups of other players, however the final boss is in a separate instance for your party only.
• Normal monsters in Atoraxxion do not drop regular items, but items to create keys needed to advance through.
How to Enter
• Available from Lv. 60.- (Optional) Complete [Invitation from I] from the Black Spirit's Main Quest tab
- (Optional) Complete your character's Awakening or Succession quest
TIP: If you have a character that completed [Atoraxxion] Vaha's Time Capsule from the Black Spirit's Main Quest tab, you can enter as long as you are above Lv. 57.
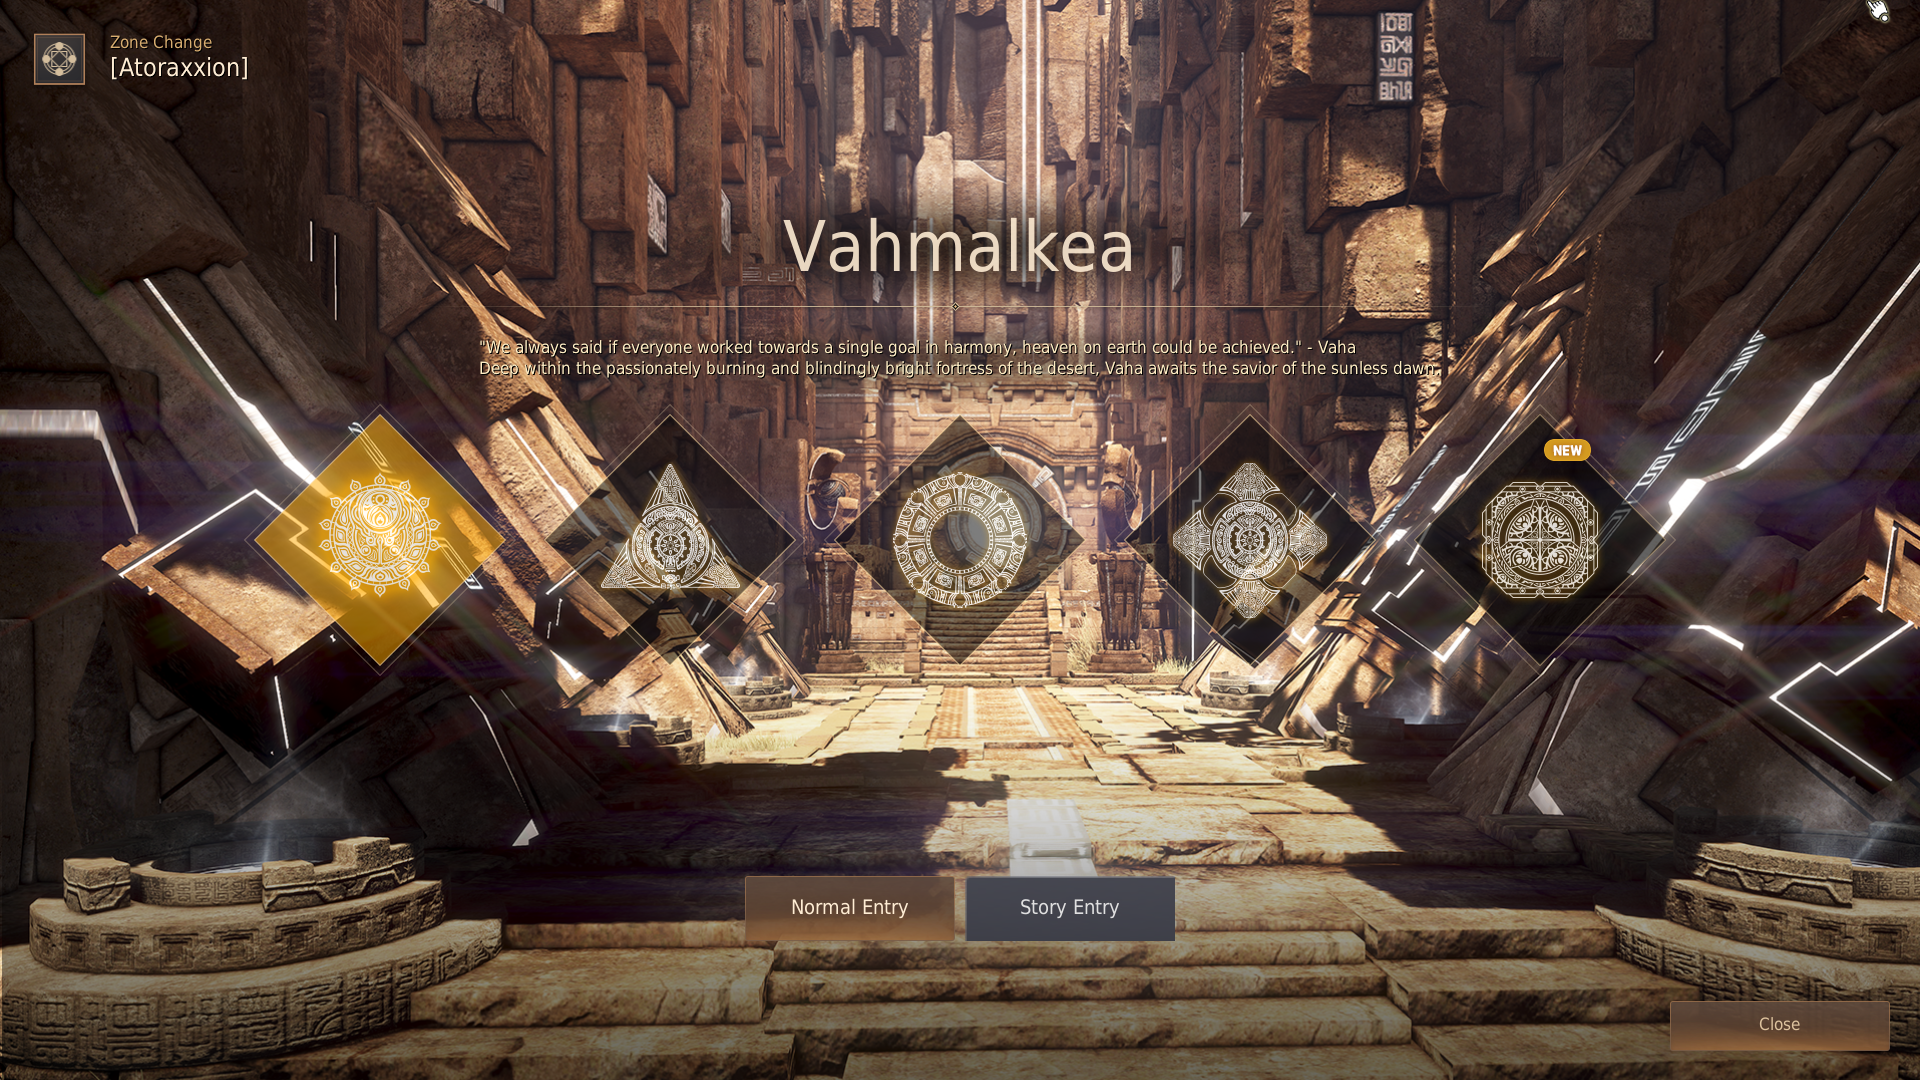
You can interact with the Sol Magia located in the Ancient Stone Chamber to enter Atoraxxion: Vahamalkea.

If you meet the entrance requirements (Being Lv. 60), you can enter by choosing Vahmalkea from the Atoraxxion selection screen after interacting with the Sol Magia.
Types of entries:
• Normal Entry: Enter this mode to experience Atoraxxion with other 5 party members. You will be able to obtain weekly rewards normally.
• Story Entry: Recomended if you are seeking to complete the main story quest or to hunt knowledge. It will not offer weekly rewards, apart from the first time clearance.
• Story Entry: Recomended if you are seeking to complete the main story quest or to hunt knowledge. It will not offer weekly rewards, apart from the first time clearance.
Progression
Vahmalkea is composed of Vaha's Query, Vaha's Sky, Vaha's Storm, Vaha's Heart, Vaha's Head, Vaha's Garden, and Vaha's Cradle.You need different keys in order to progress from area to the next. The keys can be crafted by using materials that are dropped from monsters in Atoraxxion.
You can solve threads, which are like puzzles, alone or together with party members when you are inside Atoraxxion. If you don't feel like completing the puzzles to progress you can just skip the puzzle, however, you won't be able to get the knowledge for that specific puzzle.
You can leave Atoraxxion by interacting with the Sol Magia located inside the dungeon or by going back to the character selection screen (Only Solo mode).
Simple Playthrough Guide of Vahmalkea
1. Craft Vaha's Dried Fang from Vaha's Query, Vaha's Sky, and Vaha's Storm.

- Vaha's Dried Fang: Go to Processing window (L) and perform Simple Alchemy using Vaha's Cold Thorn x5 (drops from Ancient Weapons).
2. Defeat Krahten in Vaha's Heart and craft Vaha's Burning Fang.

- Vaha's Burning Fang: Arrange Vaha's Dried Fang and Searing Heart Piece (drops from Krahten) into a [-] shape in Yaz's Combinables Pouch.
3. Defeat Ahtenn in Vaha's Head and craft Vaha's Twisted Fang.

- Vaha's Twisted Fang: Arrange Vaha's Burning Fang and Frozen Shell of Reason (drops from Ahtenn) into a [-] shape in Yaz's Combinables Pouch.
4. All party members must craft Lucretia Dagger from Sol Magia in Vaha's Garden and then move to Vaha's Cradle.

- Lucretia Dagger: Arrange Vaha's Twisted Fang and Vaha's Whispering Bell (drops from Ahtenn) into a [-] shape in Yaz's Combinables Pouch.
5. Defeat the final boss, Apex Urukios in Vaha's Cradle.
6. After defeating Apex Urukios, players will obtain the key (Corrupt Yolun Daggers) to challenge Sycrakea's final Boss: Maleficent Centilutos. 
7. Claim your reward after defeating Apex Urukios

◈ Vaha's Query / Vaha's Sky / Vaha's Storm

▲ Monsters appear after standing a few seconds under the floating artifacts.
You can obtain Vaha's Cold Thorn by defeating Ancient Weapons that roam around in Vaha's Sky, Vaha's Storm, and Vaha's Querry.
Once you collect Vaha's Cold Thorn x5, go to the Processing window (L) and perform Simple Alchemy to create Vaha's Dried Fang, which is required to access Vaha's Heart.
Once you collect Vaha's Cold Thorn x5, go to the Processing window (L) and perform Simple Alchemy to create Vaha's Dried Fang, which is required to access Vaha's Heart.

When you possess Vaha's Dried Fang, interact with the Sol Magia in Vaha's Storm to enter Vaha's Heart.
TIP: Righ click Vaha's Dried Fang to activate the automatic navigation to the Sol Magia.

TIP: All party members must create a key in order to enter the final area. Vaha's Cold Thorn can be obtained in Vaha's Heart as well.
◈ Vaha's Heart

▲ Defeat Krahten to obtain Searing Heart Piece and combine it with Vaha's Dried Fang.
There is a chance of Krahten appearing as you defeat Ancient Weapons in Vaha's Heart.
TIP: You can defeat the flying Ancient Weapon, Putorium, by using a matchlock that can be obtained from Vaha's Heart – Exchange.
There is a chance of obtaining a Searing Heart Piece when you defeat Krahten.
Arrange Vaha's Dried Fang and the Searing Heart Piece into a [-] shape to create Vaha's Burning Fang. You'll need this item to serve as your key to the next area.
Arrange Vaha's Dried Fang and the Searing Heart Piece into a [-] shape to create Vaha's Burning Fang. You'll need this item to serve as your key to the next area.

While in possession of Vaha's Burning Fang, interact with the Sol Magia in Vaha's Heart to enter Vaha's Head.
TIP: Righ click Vaha's Burning Fang to activate the automatic navigation to the Sol Magia.

◈ Vaha's Head

▲Untangle the Stellagia thread and defeat Ahtenn to obtain a Frozen Shell of Reason and Vaha's Whispering Bell.
When you are at Vaha's Head, interact with the central Stellagia and solve the thread. After that, Athtenn's Fragments will appear. When you defeat enough fragments, Ahtenn will appear.

▲You can summon Ahtenn by interacting with the Stellagia and solving the thread.
Defeat Ahtenn to obtain a Frozen Shell of Reason and Vaha's Whispering Bell.
Arrange Vaha's Burning Fang and Frozen Shell of Reason into a [-] shape to create Vaha's Twisted Fang.
Arrange Vaha's Burning Fang and Frozen Shell of Reason into a [-] shape to create Vaha's Twisted Fang.

While in possession of Vaha's Twisted Fang, you can interact with the Sol Magia in Vaha's Head to move to Vaha's Garden.
TIP: Righ click Vaha's Twisted Fang to activate the automatic navigation to the Sol Magia.
◈ Vaha's Garden

▲ Insert the Lucretia Dagger into the Sol Magia.
Monsters do not appear in this area. Arrange Vaha's Twisted Fang, which you obtained from the previous area, and Vaha's Whispering Bell into a [-] shape to obtain the Lucretia Dagger.

The party leader can proceed to the final area, Vaha's Cradle, once all party members have placed their items into the Sol Magia.

◈ Vaha's Cradle

Vaha's Cradle is where Apex Urukios, the final boss, spawns.
Even if you have died, you cannot revive until all party members die or you get resurrected by using a Medical Kit. When all party members die, Vaha's Cradle will reset and you can attempt it again.
You won't get penalized when you die in Vaha's Cradle.
Even if you have died, you cannot revive until all party members die or you get resurrected by using a Medical Kit. When all party members die, Vaha's Cradle will reset and you can attempt it again.
You won't get penalized when you die in Vaha's Cradle.
Vahmalkea Reward
Defeat the last Ancient Weapon, Apex Urukios, and claim your reward at the top right of your screen.|
Reward
|
Guaranteed
|
Obtained with a certain probability:
|
|
|
Vahmalkea: Desert Chest
|
 Maha's Fragment x10
(Sell at NPC: 10,000,000 Silver)
 Dehkima: Token of the Oath x45
 Yona's Fragment x5 - x10
 Explorer's Compass Part x1
 Scroll Written in Ancient Language x1
 Pure Vanadium crystal x1 - x2
 Pure Titanium crystal x1 - x2
 Trace of Nature x5 - x10
 Ancient Spirit Dust x15 - x20
 Cron Stone x50
|
 Upgraded Compass Part x1
    Deboreka accessory
 Vaha's Dawn
 Black Spirit's Claw Piece x1
|
|
Dehkima: Token of the Oath is available to various rewards in your Manage Currency UI.
|
Required Item |
Exchange Item |
|
Dehkima: Token of the Oath x200 |
Advice of Valks (+100) x1 |
|
Dehkima: Token of the Oath x500 |
Advice of Valks (+150) x1 |
|
Dehkima: Token of the Oath x10 |
Memory Fragment x20 |
|
Dehkima: Token of the Oath x1 |
Mass of Pure Magic x2 |
|
Dehkima: Token of the Oath x5 |
Advice of Valks (+40) x1 |
|
Dehkima: Token of the Oath x10 |
Advice of Valks (+50) x1 |
|
Dehkima: Token of the Oath x10 |
Black Magic Crystal - Harphia /Cobelinus/Viper/Hystria/Carmae/Addis ▲ Select one of the items above |
|
Dehkima: Token of the Oath x1000 |
3 Weapon Exchange Coupons (One per Family) |
|
Dehkima: Token of the Oath x5 |
Desperate Crystal of Origin x1 (Eight per Family) |


Challenge for Clearing for the First Time
This Challenge will be completed the first time you successfully clear the Atoraxxion: Vahmalkea.|
Challenge |
NPC |
Reward |
|
[Atoraxxion] The First Savior: Vahmalkea |
Vaha's Time Capsule
(Located in Vaha's Paradise, the location you visit after defeating the final boss)
|
Golden Tears of the Desert x1
Vahmalkea: Desert Chest x1
Vahmalkea: Aakmah Chest x1
Scroll of Vaha's Records x10
Item Collection Increase Scroll x10 |


◈ Golden Tears of the Desert
Golden Tears of the Desert is a crafting material for Vaha's Dawn Earrings.
Processing (L) - Heating: Golden Tears of the Desert x1 + Yona's Fragment x10 + Melody of the Stars x10 + Magical Shard x50
Vaha's Dawn has the same stats as the Black Distortion Earring.
Processing (L) - Heating: Golden Tears of the Desert x1 + Yona's Fragment x10 + Melody of the Stars x10 + Magical Shard x50
Vaha's Dawn has the same stats as the Black Distortion Earring.


You can also obtain Golden Tears of the Desert from the following bosses within Atoraxxion according to a certain probability:
• Cetus, Monoceros, Lacerta, Creomar, Putorium, Krahtenn, Ahtenn
* The content of the game guide may differ from the actual game content, depending on the update and content changes.